
What To Clean After Remodeling
Remodeling changes your home’s look and how it works, but it also leaves behind tons of dust and mess. Once the contractors finish, drywall dust covers surfaces, paint spots show up, sawdust sneaks into every room, and dirt hides in the corners. That initial cleanup after remodeling is when your house finally starts to shine like the fresh, new space you dreamed about. Keep reading to uncover simple tricks that turn this tough job into a breeze.
This guide breaks down what to clean after remodeling so you can move from construction site to comfortable home. Read on for room by room priorities, practical tips, safety reminders, and a compact list of tools and products that make the work faster and more effective.
Why a proper post remodel clean matters
Leftover dust and debris are more than an eyesore. Fine particles from drywall and sanding settle into HVAC systems and on light fixtures and electronics. These particles reduce indoor air quality and can cause irritation for anyone with allergies. Removing this material quickly reduces long term cleaning work and protects surfaces that might stain if dust is left in place.
Taking care of the cleanup also means you can spot small installation issues early. A careful walk through while cleaning can reveal loose trim, paint drips, or scratched surfaces that the contractor can correct before final payment. That saves money and prevents ongoing headaches.
High priority tasks to tackle first
Start with the items that affect air quality and safety. Tackling these first makes the remaining cleaning faster and prevents recontamination of cleaned areas.
- HVAC and vents – Replace filters and vacuum supply and return vents. If sanding dust entered the ductwork request a duct inspection if dust levels look excessive.
- Light fixtures and ceiling fans – These collect airborne dust quickly. Turn power off at the breaker and wipe fixtures and blades with a damp microfiber cloth.
- Floors – Use a high quality vacuum with a HEPA filter on all floors before mopping. Start in the highest rooms and work downward to avoid tracking dirt through cleaned areas.
- Windows and sills – Remove paint splatters with a razor blade on glass and use a mild cleaner on frames and tracks.
Room by room checklist with priorities
Breaking the job into rooms keeps work focused and prevents repeated visits to the same space. Below are the common trouble spots and a short action list for each.
Kitchen
- Remove protective film from appliances and cabinets
- Wipe cabinet interiors and hardware to remove fingerprints and glaze
- Clean countertops with a product suited to the surface material
- Check plumbing connections and trap for debris from pipe cutting
- Clean range hood filters and wipe exhaust openings
Bathrooms
- Remove grout haze using manufacturer recommended cleaners or a mixture of water and mild acid if safe for the tile
- Buff fixtures and polish glass shower doors
- Run drains with running water and remove any construction bits
- Sanitize surfaces that will touch skin often
Walls ceilings and trim cleaning pointers
Drywall dust can cling to paint and trim, creating a film that shows under certain light. Approach these surfaces with gentle methods that protect fresh paint and finishes.
- Start with a dry microfiber cloth or electrostatic duster to pick up loose dust
- Follow by wiping with a slightly damp cloth for stubborn residue
- For paint splatters on finished paint wait until the paint is cured and test a small area before using solvent
- Polish wood trim with a wood safe cleaner if dust has left streaks
Floors and grout deep cleaning techniques
Different floor types require different approaches. Choosing the right method prevents surface damage and reduces the need for repeat work.
Hardwood and engineered wood
- Vacuum with a soft brush attachment to remove grit that can scratch
- Use a damp mop with a manufacturer recommended cleaner if needed
- Avoid saturating seams with water which can cause warping
Tile laminate and vinyl
- Sweep and vacuum first then mop with a pH neutral cleaner
- For grout use a stiff nylon brush and a grout cleaner safe for the tile type
- Consider sealing grout after cleaning to reduce staining
Windows doors and hardware finish care
Small details make a big visual difference. Clean hardware and glass last so they remain polished. Use a light oil for brass and stainless steel polish sparingly on chrome.
- Clean glass inside and out for a streak free finish
- Wipe door frames and thresholds where sawdust collects
- Tighten loose screws and test door operation during cleaning
Tools supplies and protective measures
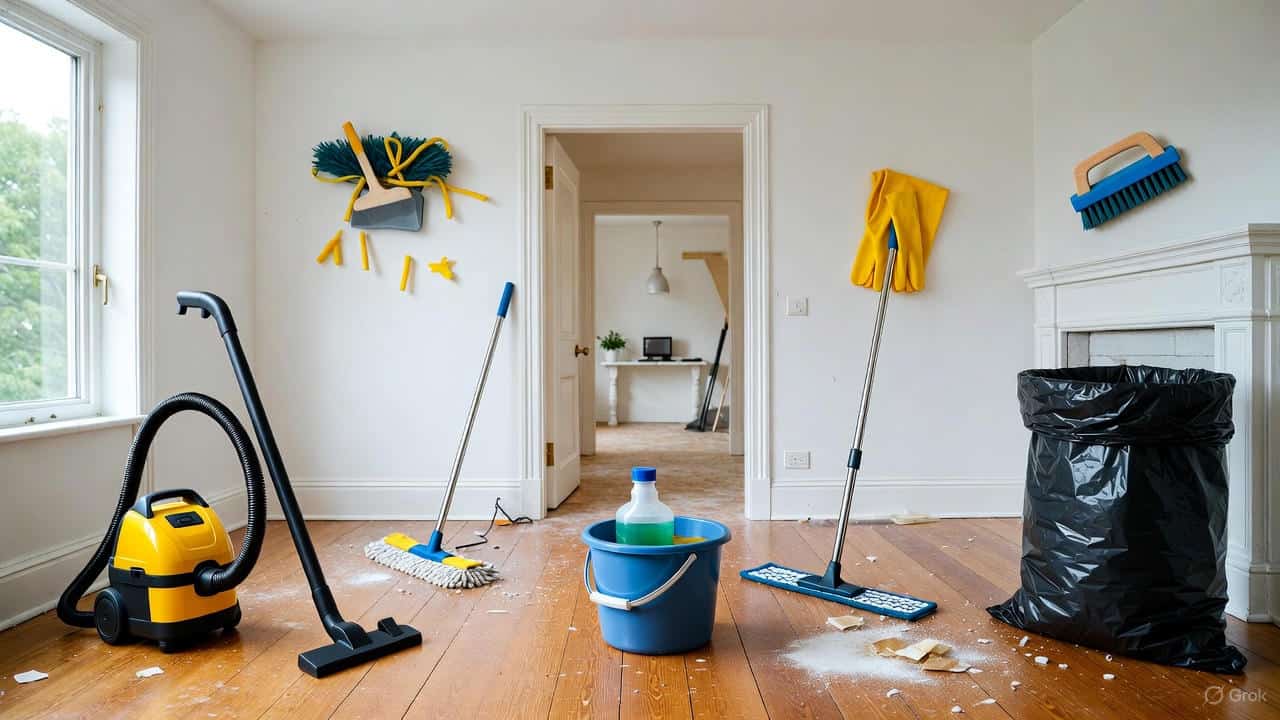
Having the right supplies saves time and prevents mistakes. Below is a basic kit that covers most post remodel needs.
- HEPA vacuum cleaner
- Microfiber cloths in multiple sizes
- Rubber gloves and eye protection
- Mops with replaceable heads and a bucket with wringer
- Scrapers with replaceable blades for paint removal on glass
- Bucket of warm water and mild detergent for general wiping
- Small hand tools such as screwdrivers to tighten hardware
Wear gloves and a particle mask while working in dusty rooms to limit exposure. Keep children and pets away from freshly cleaned areas until floors are dry and any chemicals have aired out.
When to hire a professional cleaning service
Large projects with heavy dust in HVAC or extensive floor refinishing are situations where a professional cleaning crew can be cost effective. Professionals often bring commercial grade HEPA vacuums and enough manpower to complete the work in one visit making the home livable faster.
If you prefer a hands off option or your remodel left hazardous waste such as leftover solvents or chemical residue call a pro who has experience with construction site cleanup. You will still benefit from checking their references and getting a written scope so that all areas are covered.
Quick recovery tips for small issues
Not every paint drip or scratch requires a contractor return. For minor fixes consider these quick responses.
- Paint drips on trim often remove with a plastic scraper and gentle solvent on a cloth
- Small drywall scuffs buff out with a fine sanding sponge followed by touch up paint
- Surface scratches on hardwood may improve with a color matched wood marker designed for floor touch ups
- Sticky finishes from adhesive residue soften with warm soapy water or an adhesive remover safe for the surface
If you want a ready to use checklist that you can print or share with a cleaning crew find a full list that covers every area and task in one place for planning and scheduling post renovation cleaning checklist
Scheduling the clean and follow up inspection
Plan the main clean after major dust producing work is done and before new furniture or textiles are brought into the space. Allow time for any final contractor touch ups so you are not repeating work. After the deep clean walk through the house with a mobile camera and a short checklist to record remaining issues and surface areas that may need another pass.
Follow up cleaning after a few weeks is helpful because remaining fine dust settles and becomes visible after normal living resumes. Schedule a lighter pass then to touch up floors, vents and upholstery that might have collected dust.
Final tips to keep progress smooth include staging cleaned rooms to prevent recontamination and labeling cleaned areas so family members know which parts are ready for use.
Conclusion
Cleaning after a remodel is a defined task with clear priorities. Begin with air and safety related items such as HVAC and vents then move through rooms with a focus on surfaces that collect dust and debris. Use proper tools such as HEPA vacuums and microfiber cloths to protect surfaces and air quality. Address small installation problems while you clean to get the best finish from your project. If the job is large or contains hazardous materials consider hiring a professional so the work finishes quickly and safely. Follow up after a few weeks to remove any settled dust and make small repairs if needed. Ready to make your newly remodeled space shine schedule a final clean with a trusted team or tackle the list yourself with the order and supplies laid out here. Taking that next step gets your home from construction to comfortable again.